Einstein pictured gravity not as a force but as a warping of space and time caused by the mass of objects. Understanding Einstein’s theories about the connection between space and time is challenging, but observing the motion of objects in a DIY gravity well demonstrates many interesting gravitational phenomena.
Constructing a gravity well
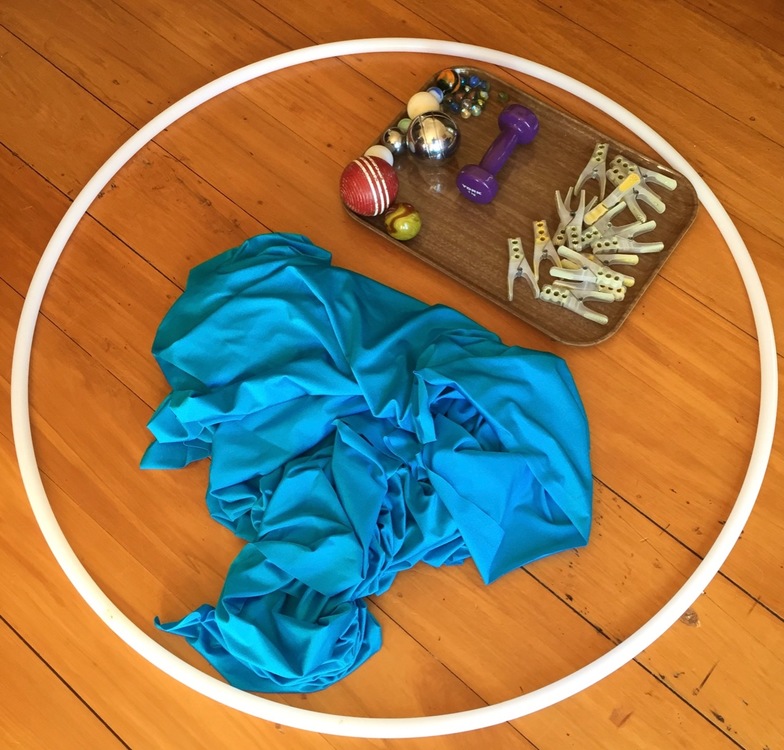
Use the following materials to construct a gravity well:
- Piece of spandex (cloth that stretches the same in all directions).
- Hula hoop.
- 16 clothes pegs or small clamps.
- Balls of various weights and sizes (small, light balls like marbles and ping pong balls and larger, heavy balls like a cricket ball and/or steel boule or petanque balls).
- Two magnets.
- Four supports (chair backs or desks).
To construct the gravity well:
- Brace the hula hoop on the four supports (chair backs or similar).
- Drape the spandex cloth over the hoop.
- Slightly stretch the cloth and begin to attach the pegs in pairs.
- Keep tension on the cloth as pegs are added.
- Continue to peg the cloth, using 16 evenly spaced pegs.
- When complete, the gravity well should have even tension across the hoop.
Visualising key science concepts
Gravitational force can be puzzling for students as many of the concepts are quite abstract. Analogies and visualisations use familiar objects to explain complex concepts or things we cannot easily observe. The gravity well allows students to observe the effects of gravity in space and other physical phenomena and helps them generate inferences between their observations and gravitational concepts.
Analogies as teaching tools
There are a few things to consider when using physics analogies in the classroom. Analogies – which make sense to experts – may not be as productive for learners, especially those who are still developing the underlying concepts. Discussion and careful questioning (scaffolding) are required to get the most out of an analogy.
All analogies have limits, and it is important to understand the limits of the gravity well analogy. The reason objects are drawn into orbits in the gravity well is because the shape of the sheet is distorted into a specific shape by heavy objects. It just happens to be a shape that causes motion that, when observed from above, is quite similar to the motion caused by gravity. The reason it works is that the slope of the surface becomes steeper the closer you get to a heavy object, and the steeper the slope, the faster a ball rolls. This is similar to gravity – the force of gravity gets stronger the closer you are to an object.
The New Zealand Ministry of Education Teaching with models webpage lists some of the learning challenges presented by the use of models, visualisations and analogies, along with suggestions on how to overcome them.
The gravity well – exploring science concepts
This interactive displays some of the simulations that can be demonstrated with a gravity well. Click on the labels for background information, demonstration videos and links to related content.
Related content
In this recorded PLD webinar we use simple examples and take you step by step through how you can teach the gravity concept and also unpack students’ alternative conceptions.
For more see the links to a wide range of related content in the Exploring physics concepts with a gravity well interactive image map.
Useful links
Use this Victoria State Government page to view contrasting student and scientific views regarding gravity. It also contains critical teaching ideas and activities to challenge students’ existing ideas about gravity.
References
Brown, D. (1992). Using examples and analogies to remediate misconceptions in physics: Factors influencing conceptual change. Journal of Research in Science Teaching, 29(1), 17–34. https://onlinelibrary.wiley.com/doi/pdf/10.1002/tea.3660290104
Podolefsky, N. & Finkelstein, N. (2006). Use of analogy in learning physics: The role of representations. Physical Review Special Topics – Education Research, 2(2), 020101. https://link.aps.org/doi/10.1103/PhysRevSTPER.2.020101


